|
K6JRF's Page formerly W6FZC Saga of a Plugged Shower Drain - Part II Photos by K6JRF |
(New: Mar 5, 2019)
|
Saga of the Plugged Shower Drain - Continued Here's the second part of the 'saga' of my plugged shower drain. This may not sound very exciting . . I share your feelings . . but it turned out to be a disaster and very expensive to repair the damage. We have been in this home for almost 50 years with the house being apx 60+ years old. The drainage system is all cast iron pipe and the water delivery is all copper pipes. If you haven't read the "preamble" to this section, please do so now in order to get the full impact of this story. Click here to see how it all started. Now that you are caught up, let's proceed with the saga . . . I called a few plumbing companies to see what they could do Plumbing Company #1:  They arrived and made a video with their video camera sent down the kitchen drain line. The video showed there was water
in the drain line . . . the good news is the pipe is not broken; the bad news is that water shouldn't be in the pipe! The
only way it can happen is if it's plugged!
They arrived and made a video with their video camera sent down the kitchen drain line. The video showed there was water
in the drain line . . . the good news is the pipe is not broken; the bad news is that water shouldn't be in the pipe! The
only way it can happen is if it's plugged!The camera head stopped apx 14ft from the beginning of the kitchen drain line which locates it just at the base of the shower pan as shown in the picture. I found that in my house, it was originally plumbed so that the kitchen and shower drains tie together by a "Y" connection that then terminates into the main drain line. The blue tape shows where the video camera stopped. This is the shower/kitchen drain junction. When you consider that choice, it's absolutely nuts!! The kitchen drain is nothing but grease, tons of grease. Same with the shower . . . maybe not quite as much but it's grease! To tie those lines together is not made from knowledge! The company replied with an job estimate but it was turned down b/c of the excessive price and lack of clarity to do the needed job. Plumbing Company #2: I called a well-known company that specializes in drain repair. I spoke directly to their drain manager and he came out to the house within a few hours. I explained what had happened and that it is definitely a plugged drain at the junction of the shower and kitchen "Y" drain. It was decided that the best way is to demo the main bathroom since the kitchen drain line is routed directly under it to where it joins with the shower drain. He came back with another video camera and it was run through the kitchen drain. This confirmed that it was plugged and that it is at the junction of the shower as shown in the above picture. The company sent out an estimate and we went back and forth with it due to my "re-writes" of it to make sure that all problems would be addressed. The cost of this effort is not inexpensive but less than the first company. The weather was bad . . . and that's being kind . . . so it was delayed for almost three (3) weeks before we could see three (3) days of no-rain in the forecast. The remainder of this story will be done with pictures . . . |
|
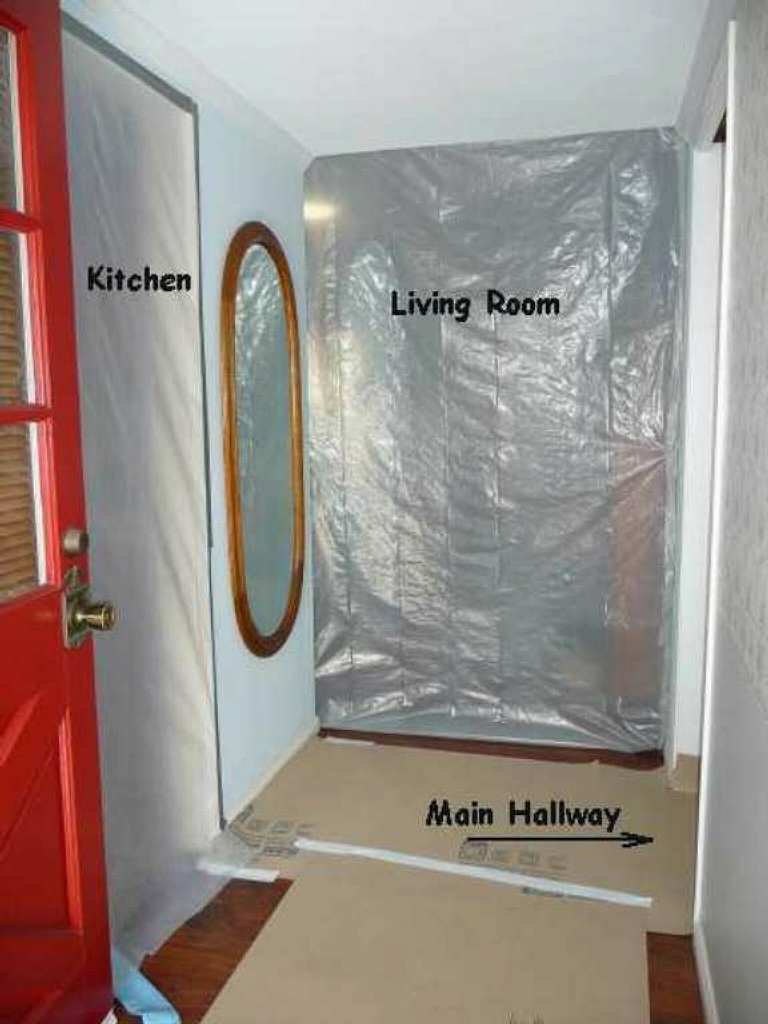
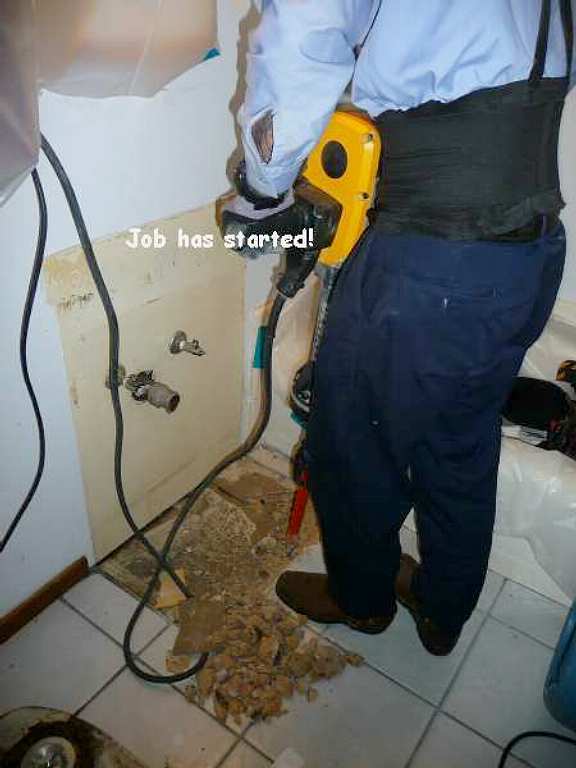
Day #1: Before starting the job, the house must be protected from the jackhammer's concrete dust. So I set up "barriers" from the main hallway into the kitchen, living room and main hallway. Also used was heavy 'cardboard' to protect the hardwood floors. All worked great . . . not a speck of dust in the other parts of the house. 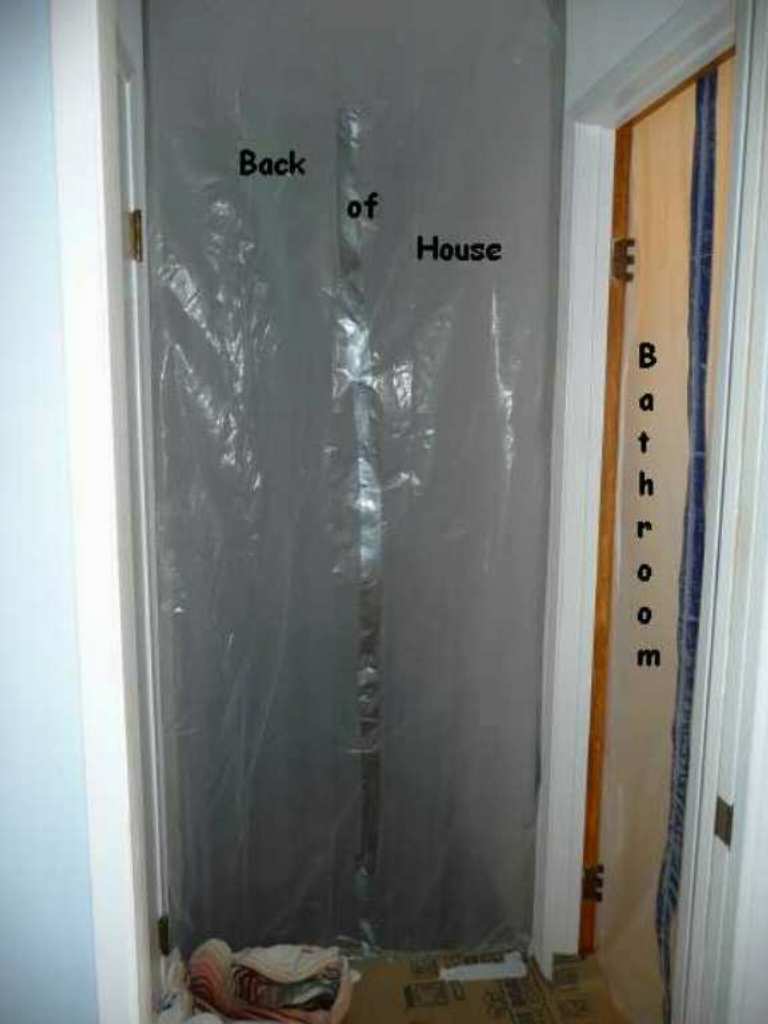
 |
The bathroom toilet and vanity removed.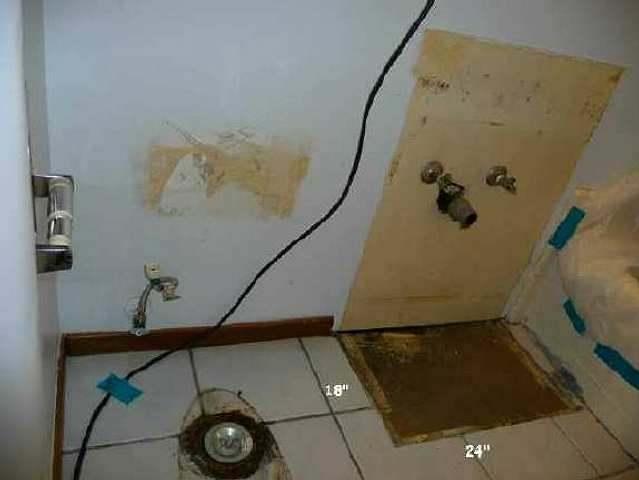
|
The plans changed since there wasn't enough room to work down in the hole. . . so it was enlarged . . . and the depth was
increased to apx 4+ ft. A large blower produces negative air flow and exhausts the concrete dust . . .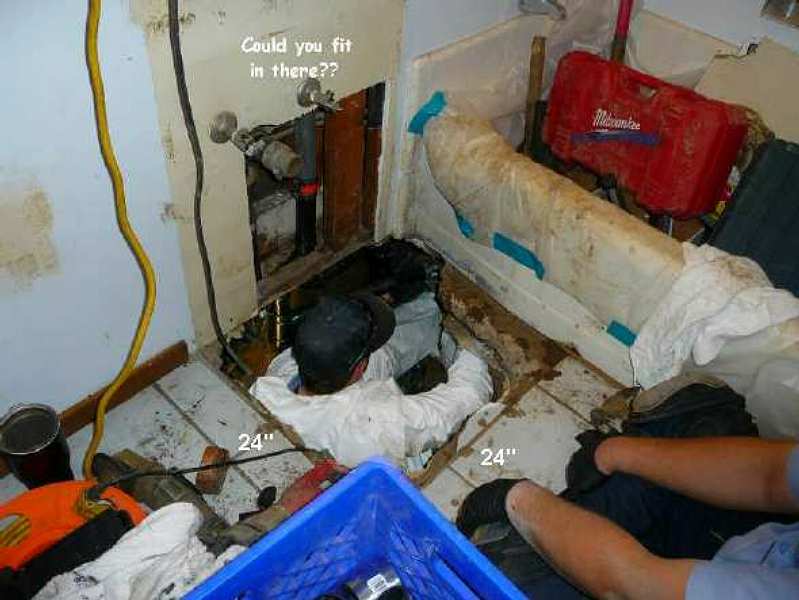
|
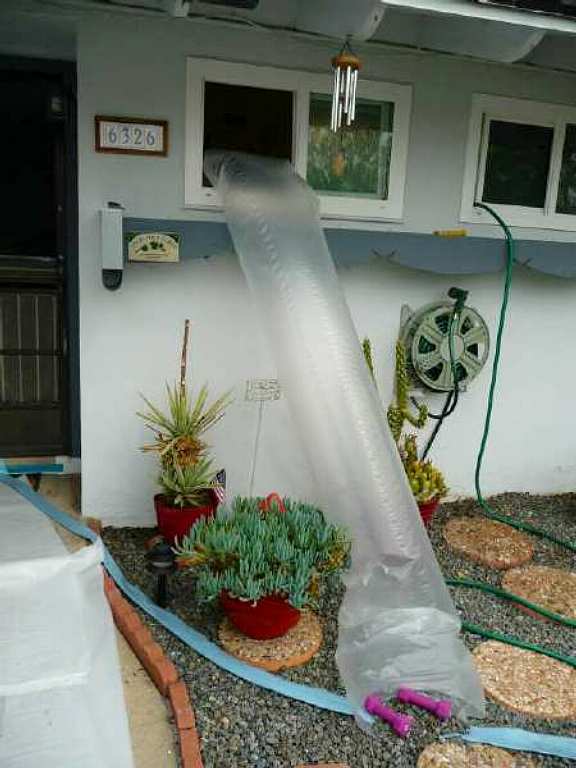
The dirt/debris was packaged into 3mil plastic bags and set outside. Nice idea b/c when the job is complete, the bags can
be emptied directly into the hole after SAND is placed around the new drains . . . . The end of day #1 shows the buried
treasure . . . 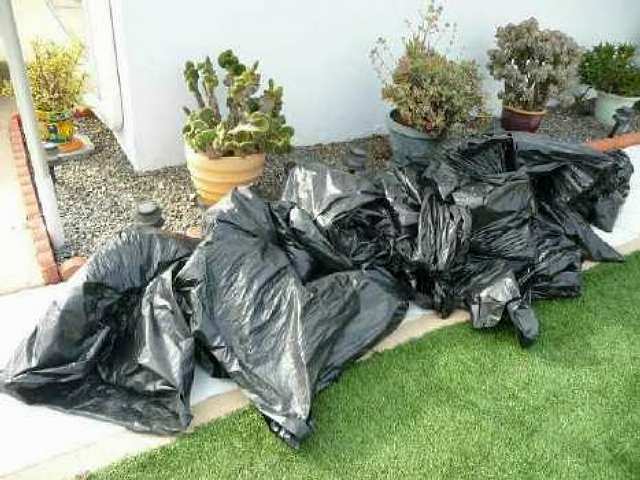

|
|
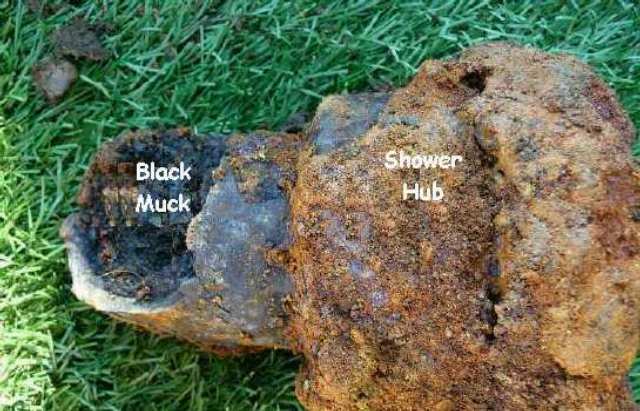
Day #2: When the old drain complex (kitchen + shower) was cut out, the shower "hub" broke so, the slab was cut back to expose the shower drain pipe. Then using "No-Hub Coupling", a new connection was made. Click here to read about this plumbing breakthrough. This is the "Y" connection that was deduced in the first part, that was the source of all problems: Shower + Kitchen drain connected in the "Y" that then drains into the main drain line. As the pictures show, it was plugged solid!! The kitchen's black-muck would flow into the shower pan and it's clearly visible in the broken top piece on the right picture. 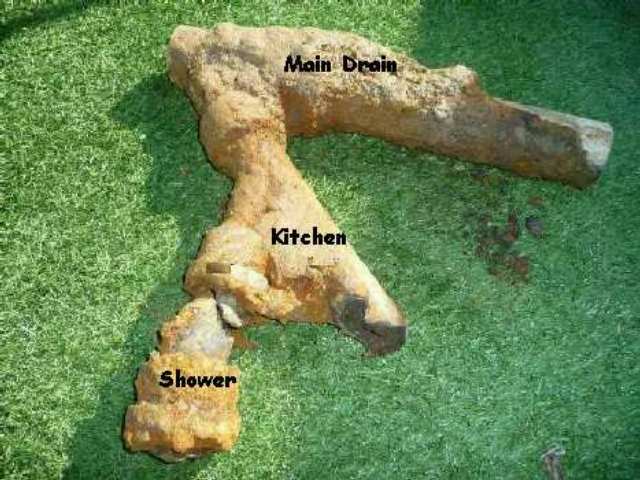
|
This picture shows a close-up of the shower drain hub . . . note the small hole which explains why the shower drained
slowly if at all!!
|
|
Day #3: The left picture shows the open drywall to expose the various vent pipes. The middle vent hub is cracked (as shown) and will be replaced. The MASTER plan is to do replace enough of the main drain so that the SHOWER, KITCHEN, TUB and SINK drains can have direct connection to the main drain. The left picture shows the cracked vent pipe located at "drain" level. This is where the water came from during the hydro-jet procedure. The right picture shows the almost completed drain system . . . a thing of beauty! 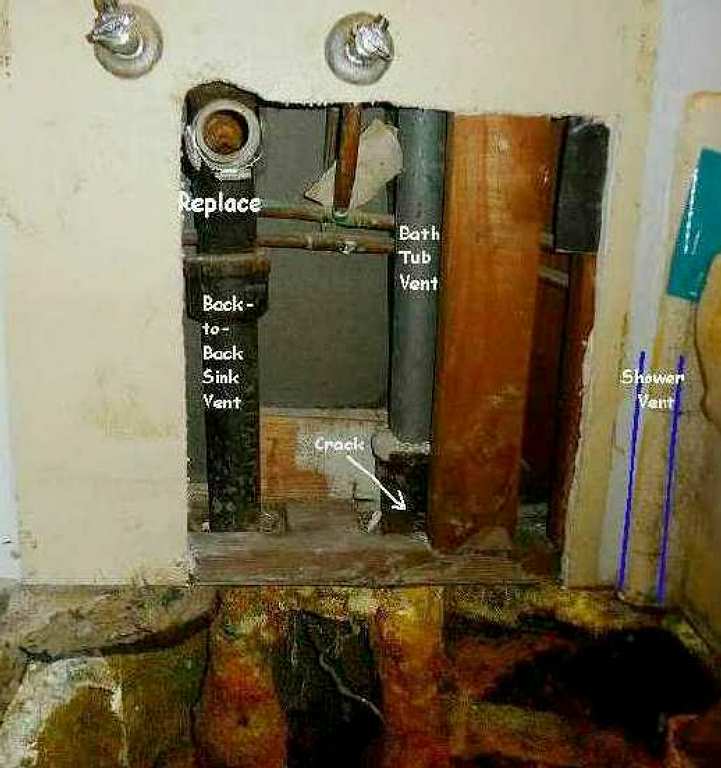

|
|
Final Connections: Today, all ABS pipe connections were completed. The picture shows the start of filling the "hole"; with sand first and then the dirt outside in the plastic bags. I certainly was happy to see that! 
|
|
Summary I now have a correct, well designed drain system in my house thanks to the efforts of two hard working plumbers. It was transformed from a multi-shared-drain system to one where each system has it's own drain line connection to the main drain. This means that the kitchen and shower . . the two most "dirty" contributors, are now directly tied to the main drain line. Udpate: 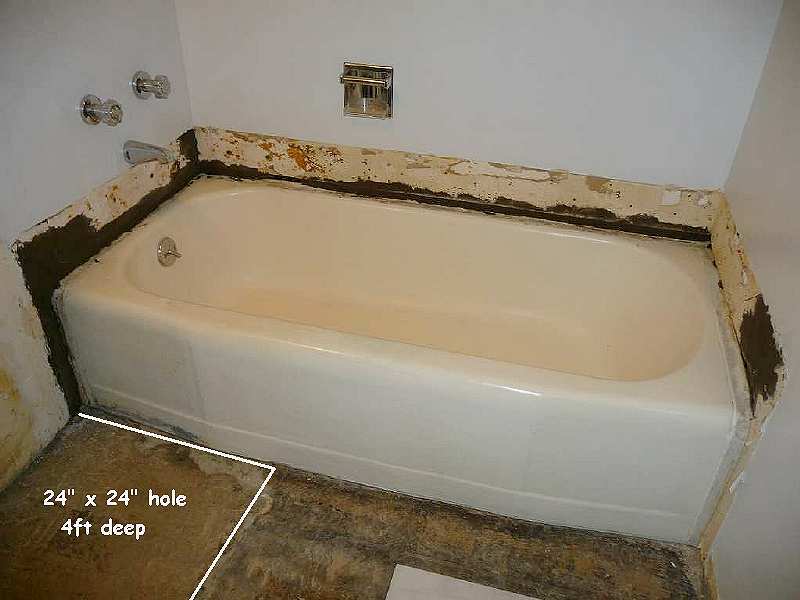 Just finished the last of many jobs that were needed to restore the bathroom to useability! The pictures speak for themselves. . . . New flooring . . . porcelain tile . . . 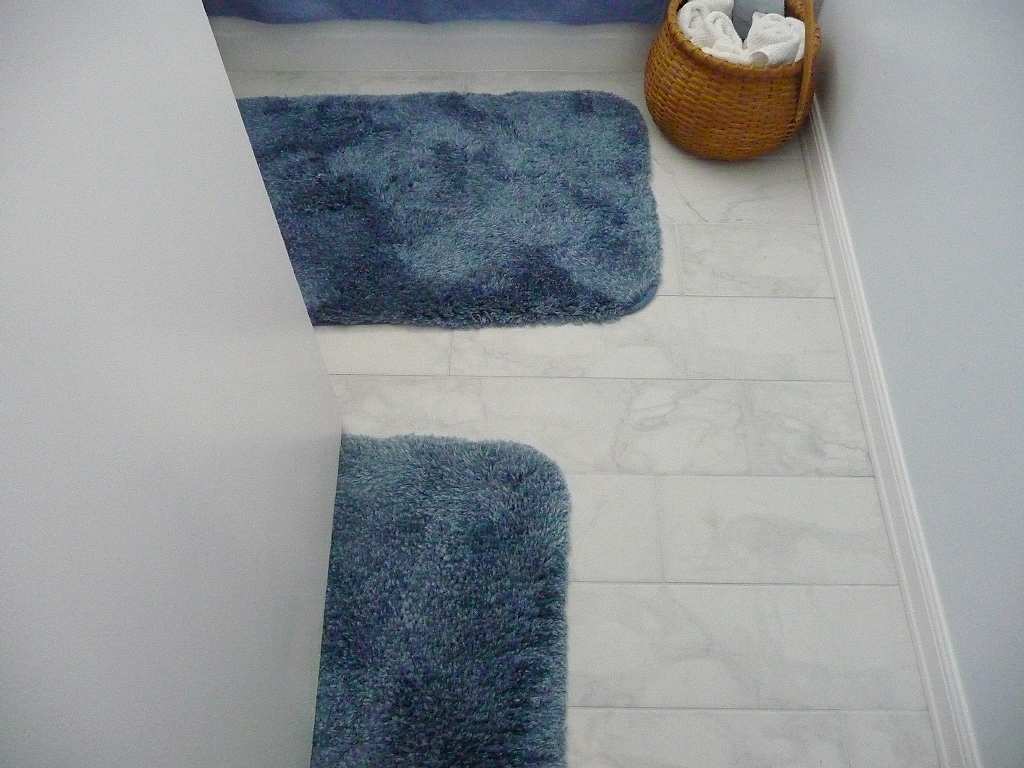 . . . Vanity and Tub . . . 4 coats of acrylic urethane on the 60yr old tub . . . 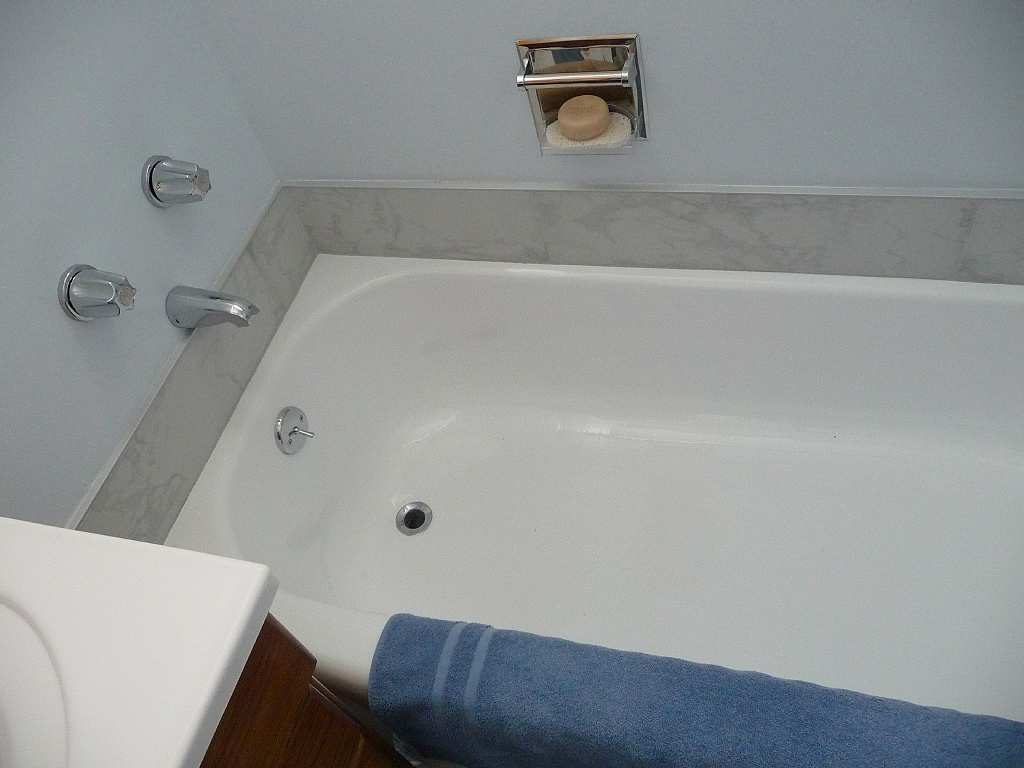 . . . Spackle, paint and some pictures for decoration . . . 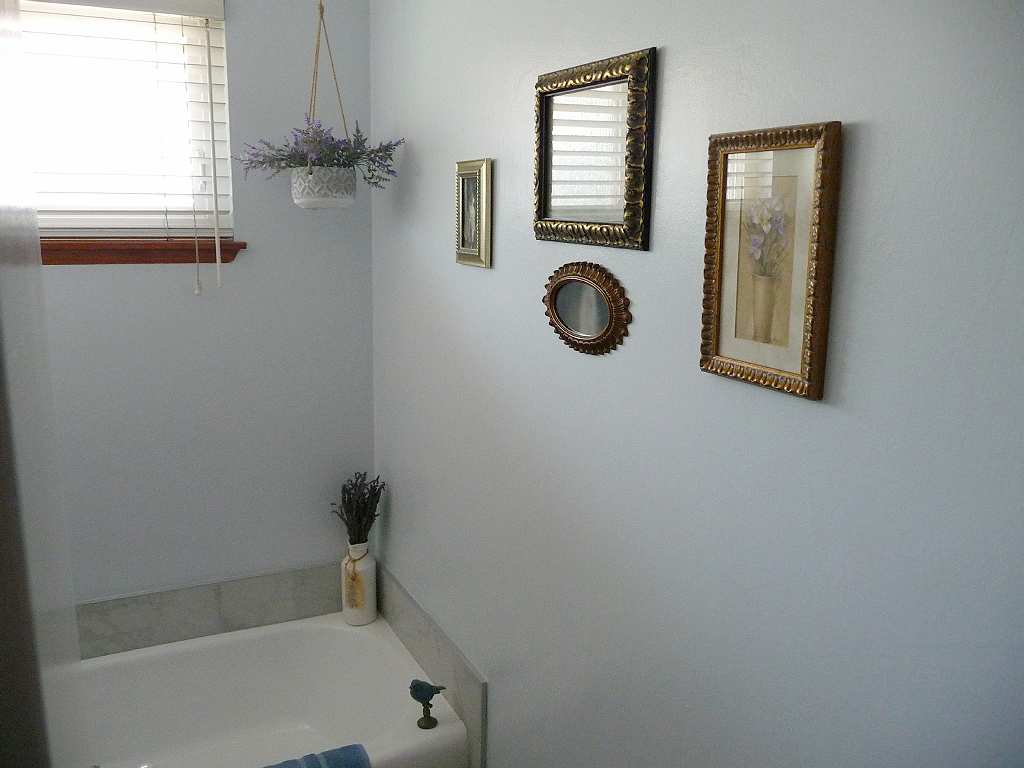 It wasn't cheap . . no plumbing work is . . and my wife and I are enjoying the new shower and bathtub. The lesson for the readers, when the drains stop "gurgling", you could be in trouble! |